I got the Ingall’s rear camber kit thinking the install would be straight forward and easy to do, and it was.. Until I found out one bolt on each side of the car was completely seized. Some may encounter this problem and some might not. CL9s are getting quite old now so I wouldn’t be surprised if the majority of us run into this problem. I searched on forums and a lot of people ran into seized bolts while installing this kit. Most of them brought their cars into shops to have the bolts removed. Nobody has thoroughly explained how they got the bolt out though. The bolt is not seized into the nut, the bushing of the arm is completely seized around the bolt itself. You may be able to break the bolt loose from the nut, but you’ll notice that the bolt will turn back itself to the original position as the bushing of the arm is seized around the bolt. The only way to get that bolt out is cutting it out. Here is how I did it and you can to.
I used the install tips provided by Heeltoe Auto here: https://www.heeltoeauto.com/tech-articles/ingalls-38725-38720-rear-camber-kit-install-tips.html
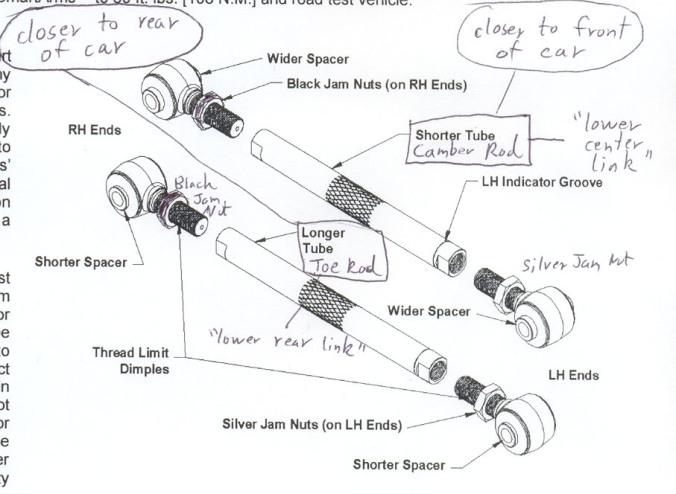 I also used this diagram I found on TSXClub.com to put the arms together, easy enough.
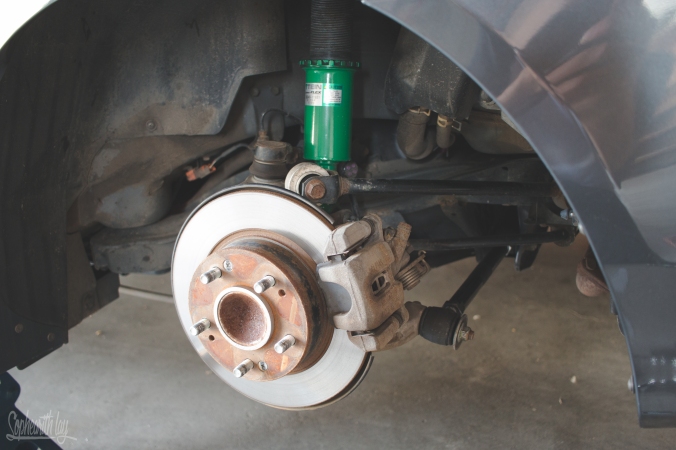 My set up.
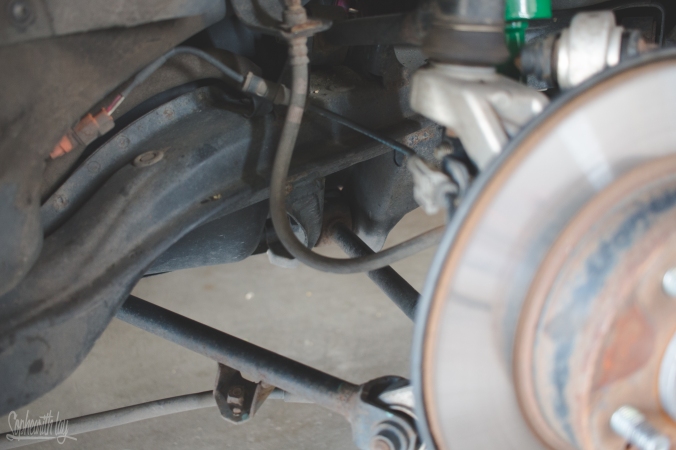
 The toe arm was really easy for me, no seized bolts here!
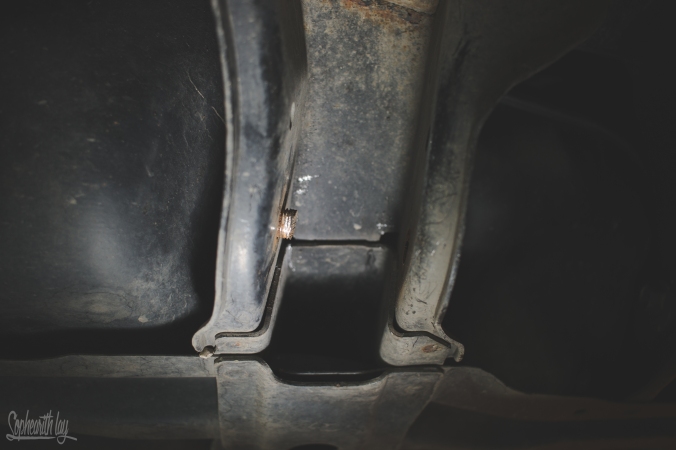
Top view of the seized bolt

Bottom view of the seized bolt
The struggle was with the camber arm here with the bolt closest to the middle of the car. Make sure to break the bolt loose now if you can, I assume it would make it easier to remove the end of the bolt after making all your cuts. But if not, you should still be okay. Note that the nut is welded to the subframe.
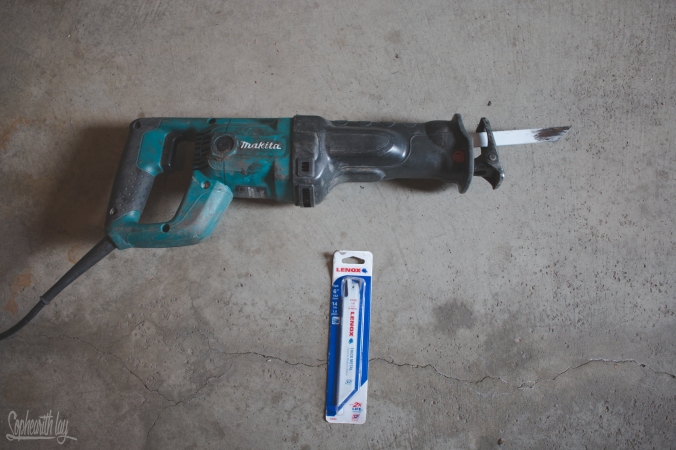 My weapon of choice was this Makita reciprocating saw with 6″ Lenox blades, which are far superior to the other longer blades I was using. I went through about 4 blades. The area is quite tight so there isn’t much room to work with.
 You will have to make two cuts on each bolt, one on the left side of the arm and one on the right side of the arm. I found it easiest to start your cuts from the bottom and work all the way to the top since there isn’t much room.
Important:
On the side closest to the head of the bolt (right side in the picture above), try cutting furthest away from the arm. It will be a lot easier to remove the head of the bolt that way.
On the side closest to the nut (left side in the picture above), make sure you cut closest to the arm as possible. You will see in the next picture why.
 Once you’ve made your cuts and removed the arm, the head of the bolt (right side) will come out easily if you cut as much of the bushing off as possible. On the side of the nut (the nut is welded to the subframe), hopefully you cut closest to the arm as possible so you end up with a little stub of the bolt. Use some pliers to spin the rest of the bolt out.
 Bolt completely removed.
 This is the aftermath.
Once the arm is removed, simply install the rest of the Ingall’s kit. I reused all my bolts and nuts except the one I cut. The part number for the one I cut is: 90173-S84-A00. Make sure you look up which bolt you need. All bolts on each arm are different.


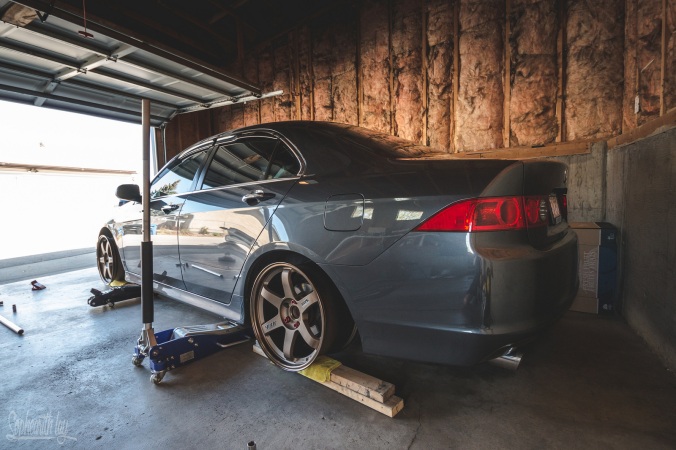
 The car has been on jack stands for so long now it seems.
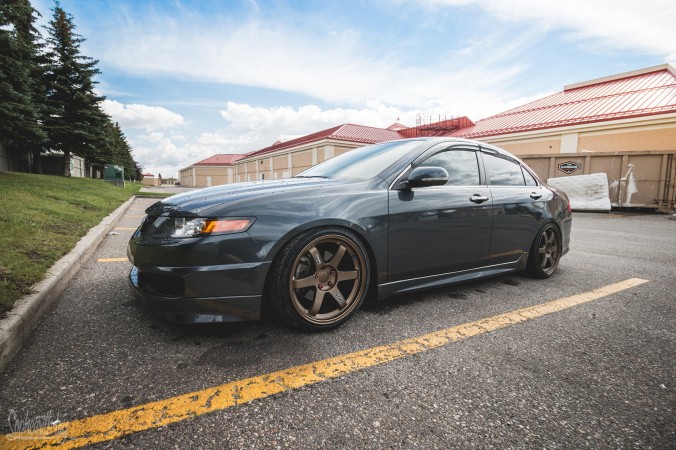
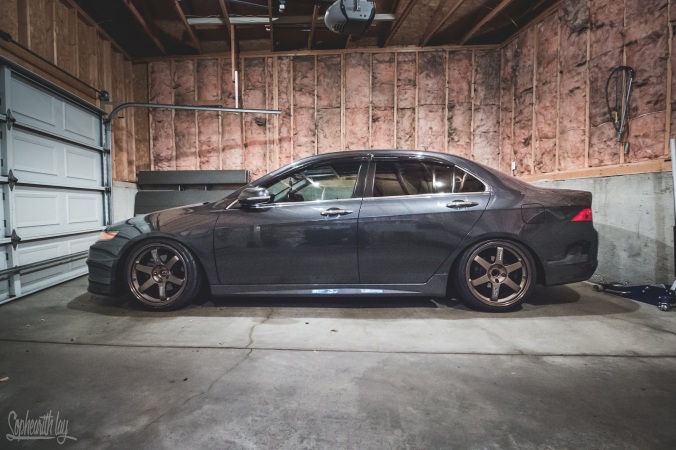 Side skirts on! I’m still playing around with the height of the car, but I think this is gonna be how it sits.
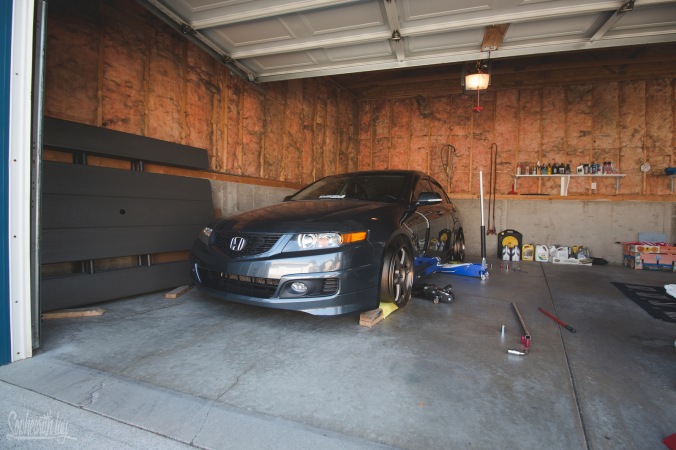
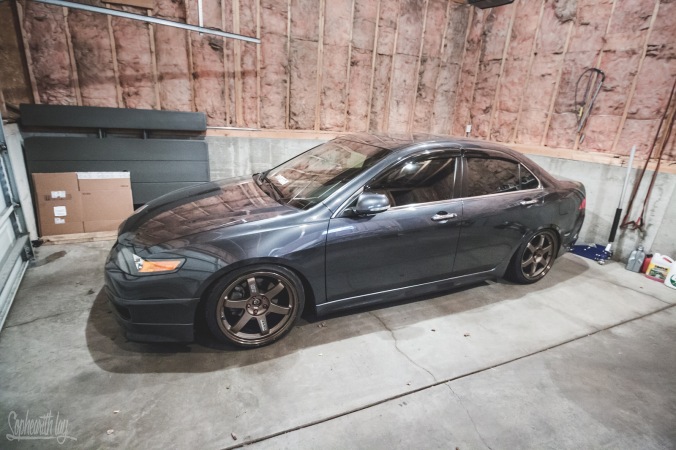 I love the way the reverse staggered wheels look.
 Still waiting on the UPS man with my last couple of parts! I’ll be impatiently looking at tracking info and out my window for the next couple of days..

 Even came with cotter pins!
 Install was very easy and straight forward. Only annoying thing was removing the paint off these threads for the ABS sensor. Not hard to do, just tedious. Skunk2 if you’re reading this, mask the threads off when you’re powder coating the arms please!
 This is how the arms come out of the box with the “Hellaflush” mod. Ball joint is flipped and a section of the arm is cut for more clearance.
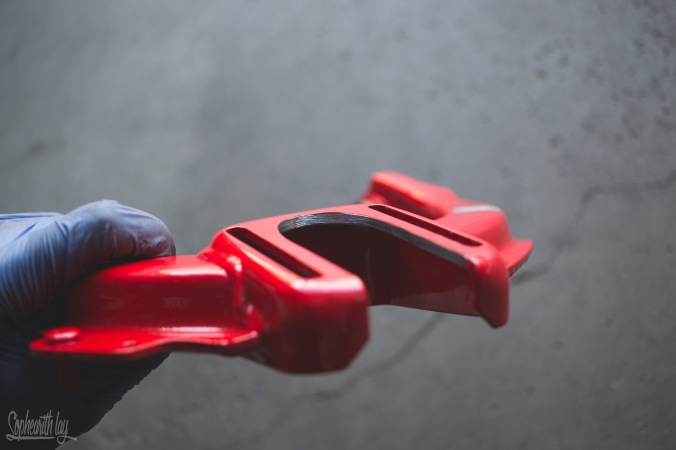 The cut is very clean and very well done. If you do need the “Hellaflush” mod for your application, you do get what you pay for.
 This is with the ball joint in the correct position as Skunk2 intended it to be. Although now I have a chunk missing in my arm. I hope the structural integrity is not compromised too much.
 I’ve installed my arms in this position. Ball joint facing the correct position with maxed out negative camber.
 Arms are in with the ball joint in the correct position. No problems here.
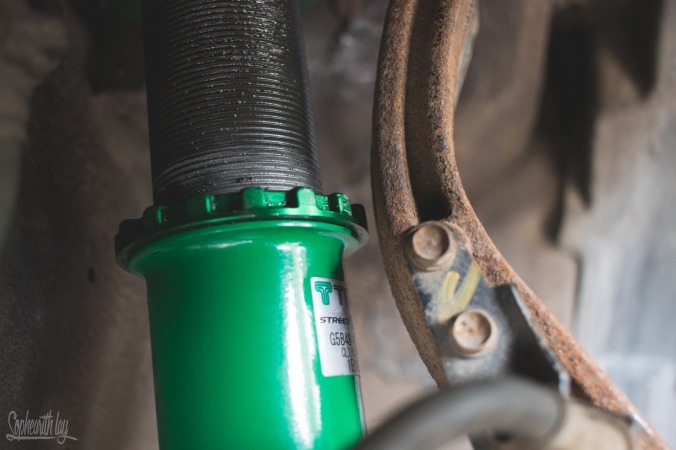 The problem I was having was with the coilover to knuckle clearance. With the Skunk2 arms maxed out with the ball joint in the correct position, I had very little space between the collar of the coilover and the knuckle as you can see, about 3mm. When the ball joint was flipped for the “Hellaflush” mod with even more camber than the picture above, there was no chance of installing everything back together. Even in the most positive camber position possible. No dice. The coilover was hitting the knuckle even before I could finish putting the rest of the bolts in for the install. The mod is useless to me.
 Fortunately the Skunk2 arms provide a sufficient amount of negative camber for what I had intended with no modification needed.